
A fantastic shot is never a fluke—you may not understand why it's unique or how you created it, but the reality remains that certain principles came together to make it possible. Details like composition, lighting, and styling are essential regardless matter whether you're shooting with a DSLR or a simple point-and-shoot camera.
Whether you want to become a professional food photographer or grow your Instagram following, you can develop your skills using a variety of ideas and tactics. We've put together a comprehensive food photography guide to help you take your photos to the next level.
What is Food Photography?
Like any other genre of photography, food photography is an art form that can be used to breathe new life into or add a whole new dimension to the food we eat. It can also be used for business purposes such as advertising, marketing, etc. Professional food photography is more than just a hobby; it is a serious business. Food photography is used in restaurants for menus and advertisements. Food photography is also used for food packaging and other purposes. It is, in fact, a very profitable profession.
Some Food Photography Tips to Instantly Improve Your Images
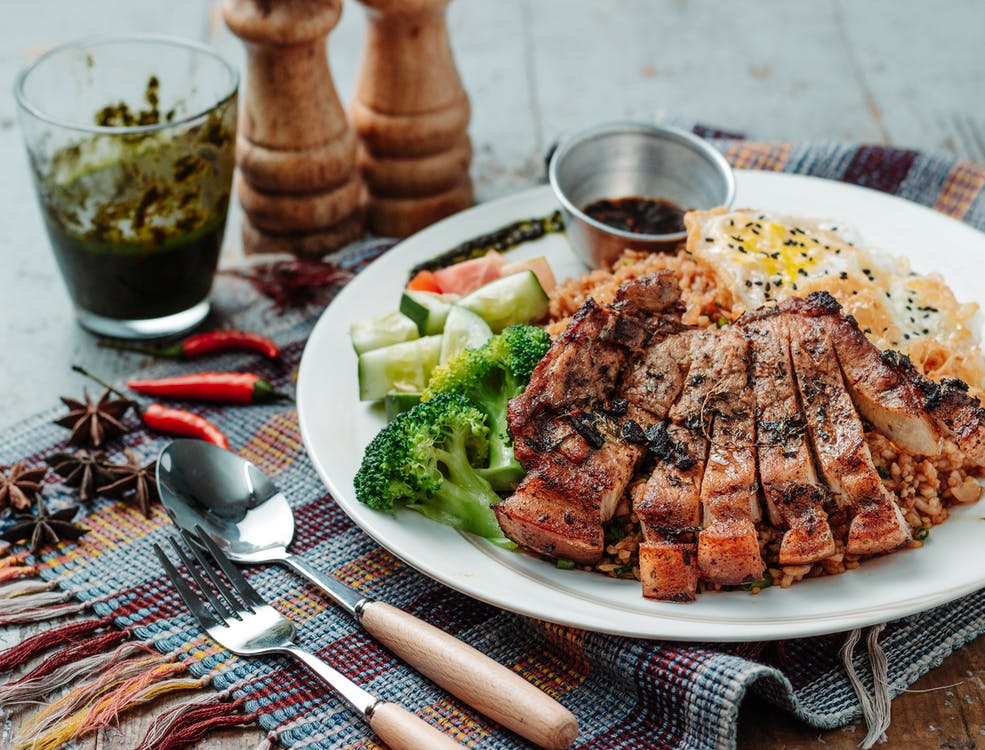
Choose an angle that tells the story
Make an effort to prepare your composition ahead of time to concentrate on the meal when it's ready to photograph; you don't want to be preoccupied with glassware, cutlery, or napkin placement when the dish is ready. So, keep the food in mind as you're putting together your composition. Take note of its size, shape, height, and what distinguishes it. Then, angle the camera to best highlight these characteristics. The exact angles, such as the flat-lay shot from above and the low-over-the-table shot from the side, are used repeatedly.
Always have a tripod with you
One of such problems is poor lighting. If you're shooting with a DSLR, any exposure that lasts longer than 1/60 of a second will benefit from the use of a tripod. There's nothing worse than nailing the composition to find out later that camera shake has turned your photo into a sorry, fuzzy mess.
Choose a hero object and surround it with it
A simple food photography setup should begin with a hero object, the focal point of your photoshoot, and the item you want to highlight. In most cases, this is the main course.
So, figure out what your hero object is. Set it on the table.
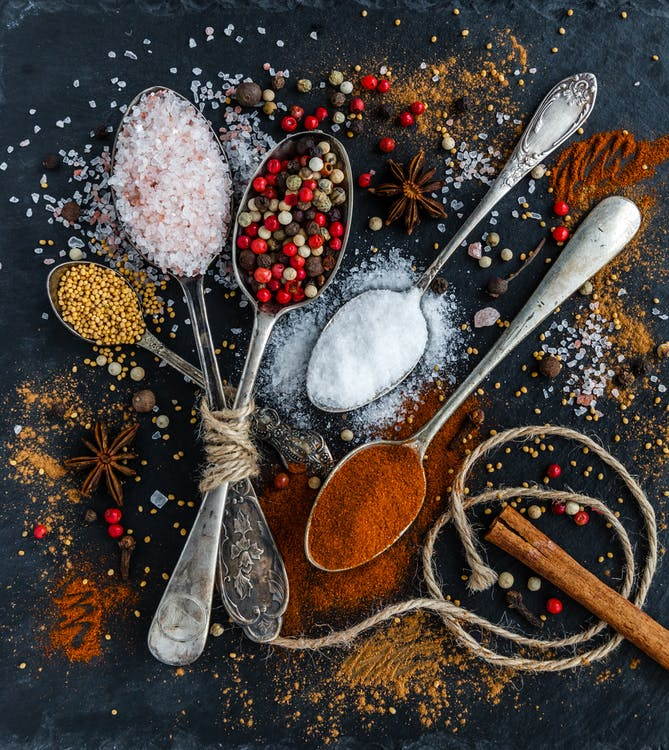
After that, surround it with food-related props. Tins, jars, herbs, glasses, fabrics, and linens can allude to the dish's origins or the season it is served. Ingredients, sauces, oils, and cooking utensils can all tell a story about how food was prepared.
Never manually zoom in or out
Instead of employing digital zoom, you should physically move closer to your subject if you want to snap a detailed image. This applies to any images taken with a phone. Your image will get pixelated if you use digital zoom. Cropping the photo afterward is a better option.
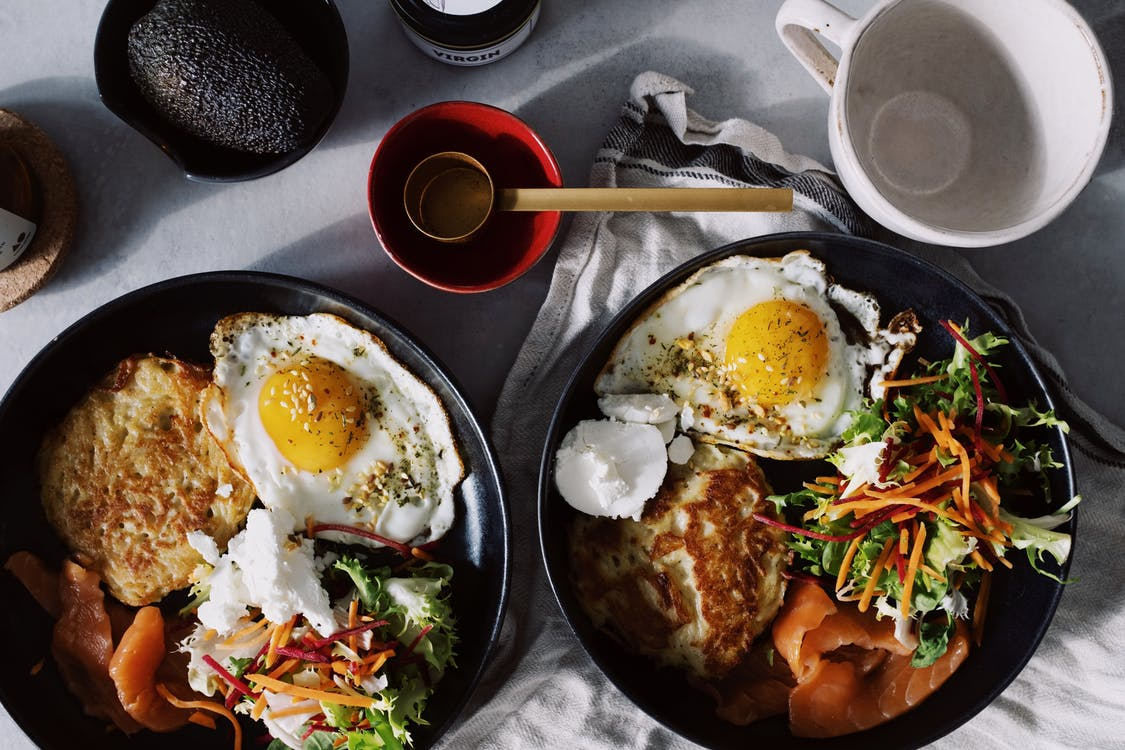
Plating an excessive amount of food
It may be tempting to pile as much food on the plate as possible, but this will not appear good on camera. If there is too much food on the plate, it will be difficult for the audience to focus on the essential parts.
As food photography is about simplicity, leave enough space on the plate for the audience to appreciate the food. In this case, less is more!
Troubleshooting common food photography issues
Your photographs are hazy
Camera shake is the cause of blurry photos. Solutions include:
- Holding your camera steadier.
- Use a tripod with a remote, so your camera stays completely still while shooting.
- A faster shutter speed will necessitate opening your aperture and moving to a brighter area.
- Increasing your ISO to reduce the amount of light required.
Your colors aren't accurate
If your plate of food appears very blue, yellow, pink, or green when you're editing your photos, use your software's white balance tools to fix it! When the white balance is set correctly, colors come to life. You'll have an easier time adjusting color balance later if you shoot in RAW format.
Your photos simply do not "pop" like professional food photography
To highlight the photograph's subject, experienced food photographers use lenses that allow them to narrow their depth of field. They then use photography software to fine-tune their images' contrast, levels, and sharpness.
Editing your food photography
After taking your photos, utilize a photo editing tool to make slight adjustments. Depending on your demands and budget, you can choose between commercial and free picture editing tools.
1. Fix White Balance: White balance relates to the color of your photograph's white areas. Depending on how you change the white balance, you can make an image look more "warm" or "cool." Depending on the photo editor you're using, you can change the white balance in various ways. You may change this in Photoshop by choosing the image and then adjusting> Color Balance.
2. Brightness/Contrast: Contrast is the difference between your photograph's darkest and lightest portions. Different picture editing software will modify the brightness and contrast of your photos in different ways. This may be done in Photoshop by going to Layer > New Adjustment Layer > Brightness/Contrast. This will bring up a panel with sliders for adjusting the brightness and contrast of your image.
3. Saturation: The intensity of the colors in your photograph is referred to as saturation. Adding a touch of saturation to a food photograph is a great way to bring out the colors and make the image appear even more appetizing. Consider the intense color of a juicy, red piece of beef or a bright orange slice of mango. Colors that are more saturated and warm tend to be more appealing in food photography.
Conclusion
These pointers can help you learn how to photograph food at all levels, from beginner to professional. However, the most vital piece of advice is to keep practising. Theory can only go you so far: it's only until you start doing things that you'll grasp them properly. Take as many food photos as possible to reach the expert level, and add your tips and methods to those listed above.

Leave me a comment
Thank you for reading my post, if you want to leave a comment, you can do so below.